
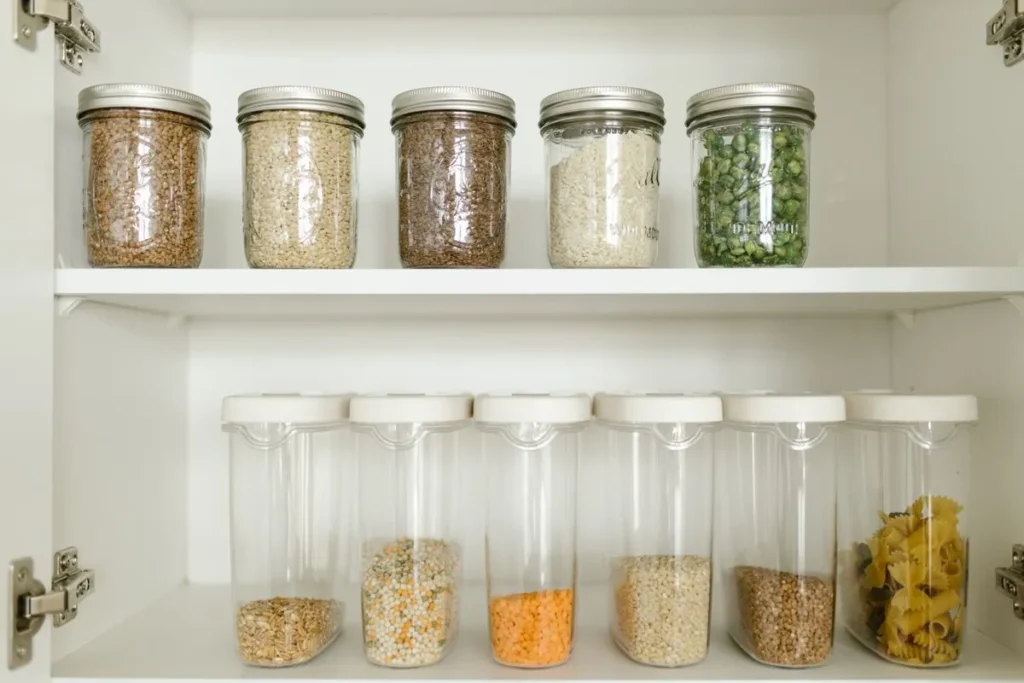
Small pantry organization on a $50 budget starts with what you already own, not with what you can buy. Pull everything out, keep what you use, and spend only on the gaps that are left. A small pantry does not need matching containers or a full makeover. It needs clear zones, food you can see, and a system you can keep up in fifteen minutes a week. The twenty-two ideas below do exactly that, and the full shopping list adds up to fifty dollars. In short, small pantry organization on a $50 budget means sort first, measure second, and buy only what is missing.
The Pantry & Kitchen category has more kitchen ideas like this one.
Why a small pantry wastes money
A pantry wastes money in a quiet way. You buy a second bag of rice because you cannot see the first one. A sauce hides behind a cereal box until it goes out of date. A bag of pasta falls behind the shelf and you find it a year later, stale. None of these are big losses on their own. Together, they add up to real money every month. That is the problem small pantry organization on a $50 budget solves: food you cannot see is food you buy twice.
The U.S. Environmental Protection Agency put a number on it in April 2025. In its report Estimating the Cost of Food Waste to American Consumers, the EPA found that each American wastes about $728 of food a year, or $2,913 a year for a household of four. That is about 11 percent of what a household spends on food. Small pantry organization on a $50 budget is worth doing because most of that waste starts with food you cannot see. When every item is visible, less food ends up in the trash.
Do the simple math. If a better pantry cuts your food waste by only 10 percent, a household of four saves about $291 a year, or about $5.60 a week. At that rate, fifty dollars of bins and risers pays for itself in about nine weeks. The rest of the year is pure saving.
A concrete example: a three-shelf pantry, before and after
Picture a rental pantry with three shelves, about two feet wide. This is what small pantry organization on a $50 budget looks like in a real kitchen, before and after.
Before: the top shelf holds a jumble of half-used baking supplies and a blender box. The middle shelf is stacked two deep with cans, boxes, and bags, so the back row is invisible. The bottom shelf holds three open bags of rice, two boxes of pasta, and a tangle of snack bags. Nothing is labeled. Cooking dinner means moving five things to reach one.
After: the top shelf holds one labeled overflow bin for baking supplies and bulk extras. The middle shelf has a can riser at the back, clear bins for rice, pasta, and oats, and an eat-first bin at eye level. The bottom shelf has a turntable with oils and sauces, a snack bin the kids can reach, and a crate for potatoes and onions on the floor. Every label faces forward. Dinner starts with one look, not a search.
Nothing in that after picture costs more than ten dollars on its own. The whole change took one afternoon and fifty dollars, and the weekly reset takes fifteen minutes. Use it as the test for your own pantry. If an idea does not make food easier to see or reach, skip it. That test is the whole point of small pantry organization on a $50 budget.
The first six ideas cost nothing at all. They use boxes, jars, and bins you already own.
1. Empty every shelf first
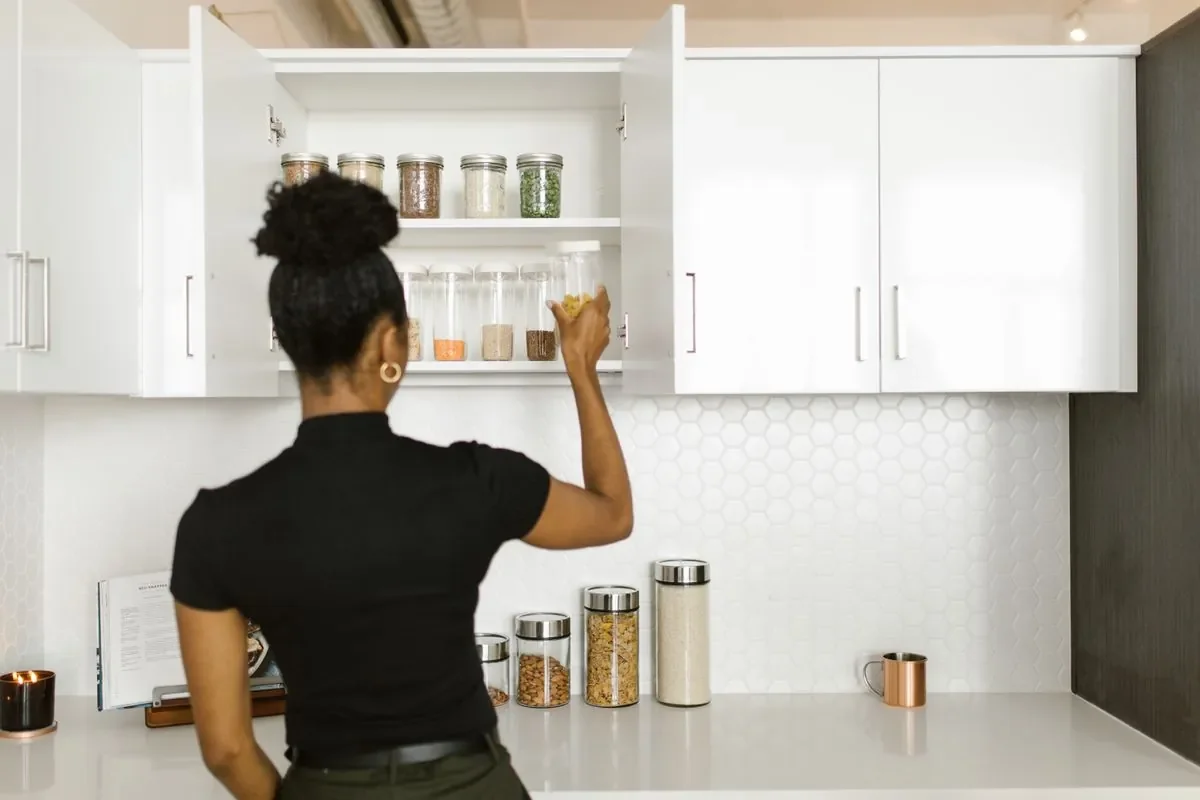
Pull everything out of the pantry and put it on the kitchen table. Sort it into four piles: keep and use often, keep but rarely use, eat this week, and toss. Expired food goes straight in the trash, and duplicates go in one pile so you can see what to stop buying. This step is free, and it makes the pantry feel bigger before you spend a cent. Measure each shelf while it is empty, width, depth, and height, and write the numbers on your phone. Every container you buy later must fit those numbers.
2. Cut cereal boxes into file bins
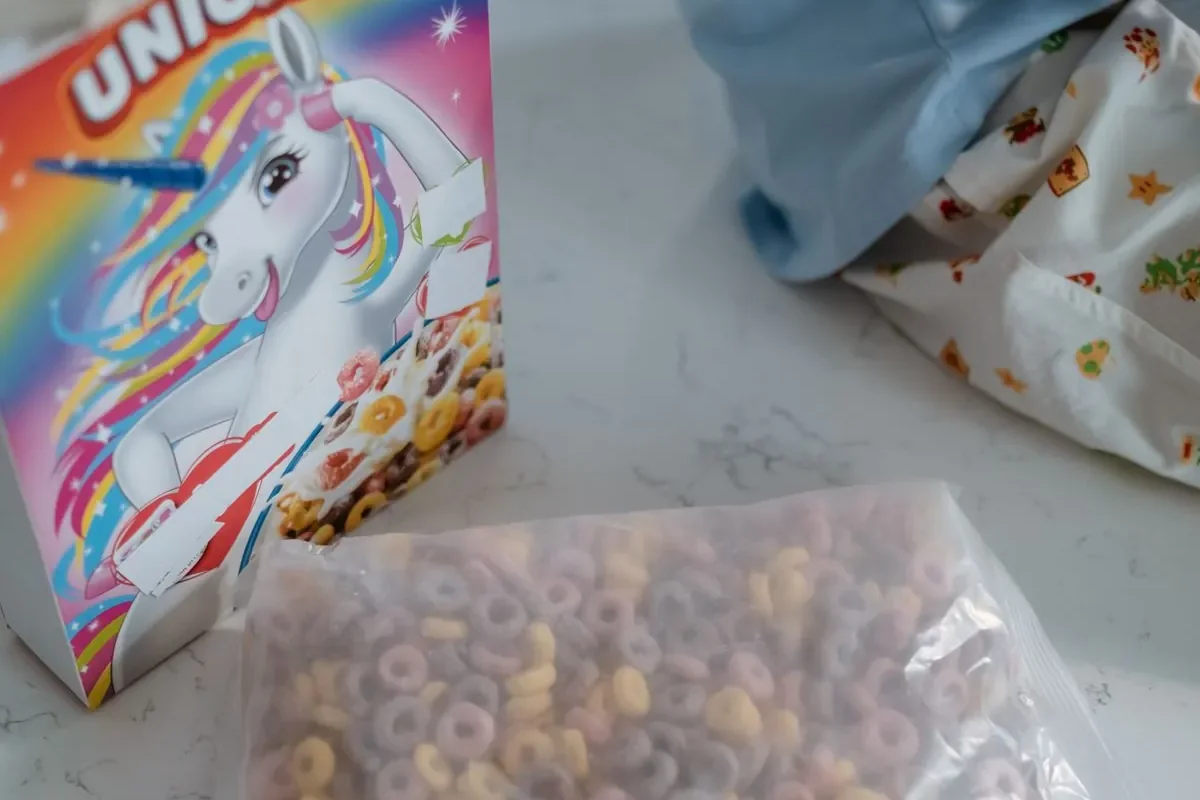
An empty cereal box makes a free file bin. Cut the top off at an angle, and the box holds spice packets, snack bars, and sauce sachets standing up like files. Cut two or three the same height and they line up neatly on a shelf. Cover them with leftover wrapping paper if you want them to look tidy, but the shape is what matters. Packets standing up are easy to see and easy to grab. Packets lying flat disappear under everything else.
3. Reuse glass jars for rice, beans, and oats
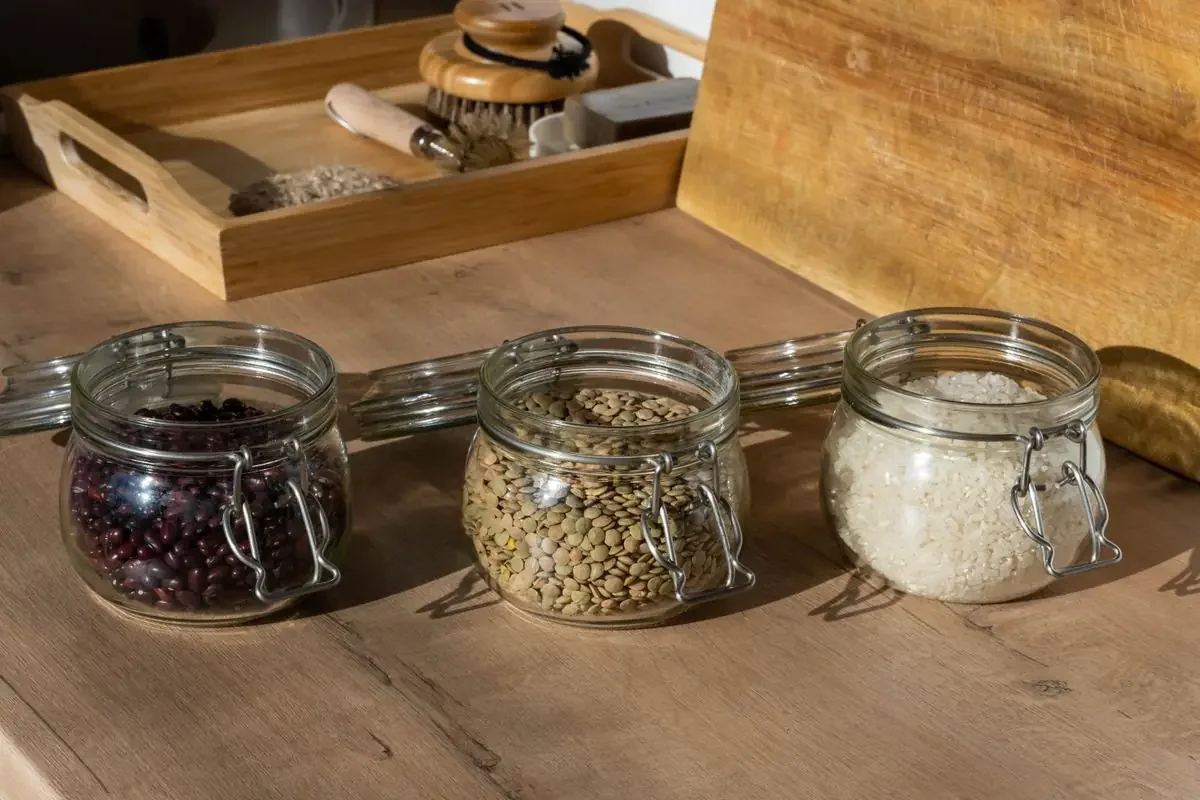
Washed sauce jars and pickle jars are free canisters. Fill them with rice, beans, oats, lentils, or flour, and write the fill date on the lid with a marker. Glass shows the level at a glance, so you stop buying a second bag of rice when the first is still half full. Keep the jars to the staples you use every week. For the rest, the original packaging keeps cooking times and dates in view for free.
4. Turn a delivery box into a pull-out drawer
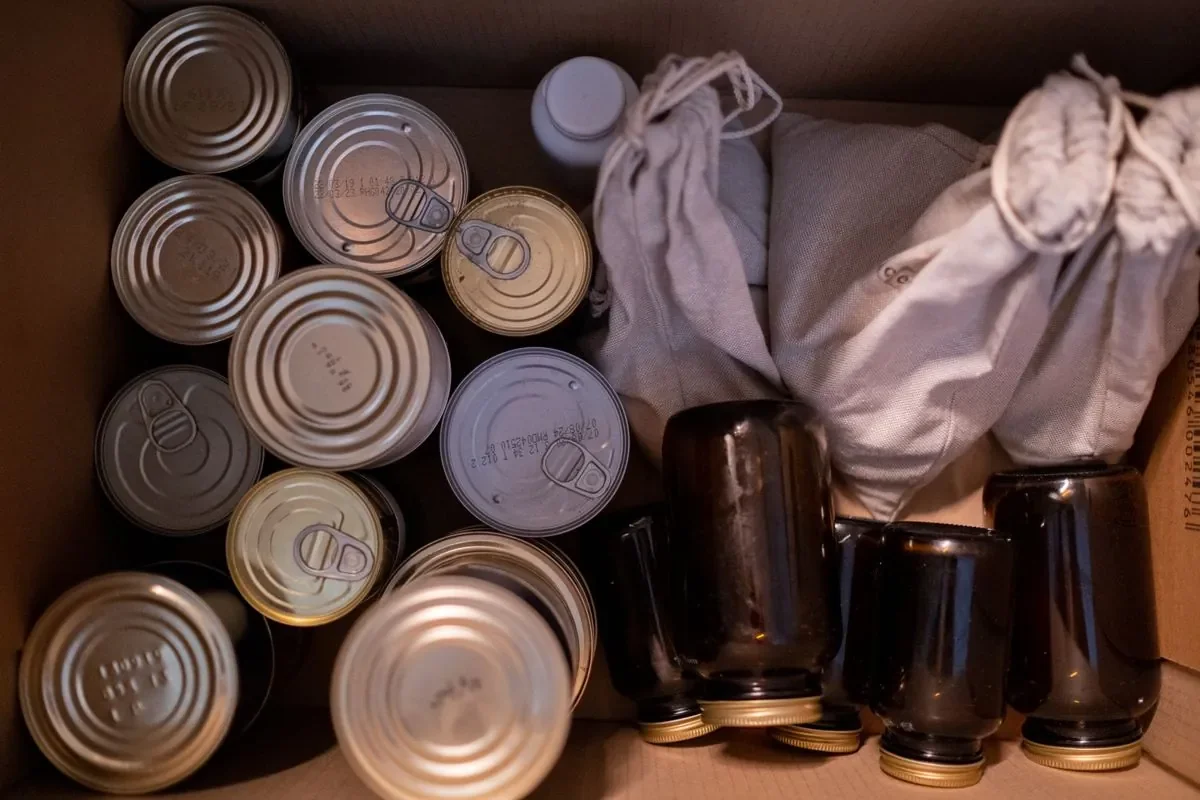
Deep shelves hide food at the back. Trim a delivery box to the depth of the shelf, and it becomes a drawer you can slide forward. Keep one box for cans, one for packets, and one for baking supplies. Pull the box out, take what you need, and slide it back. No more reaching past three rows to find the one tin at the back. Replace the box when it wears out. It cost nothing, and the next delivery brings a new one.
5. Group dinner ingredients in one bin
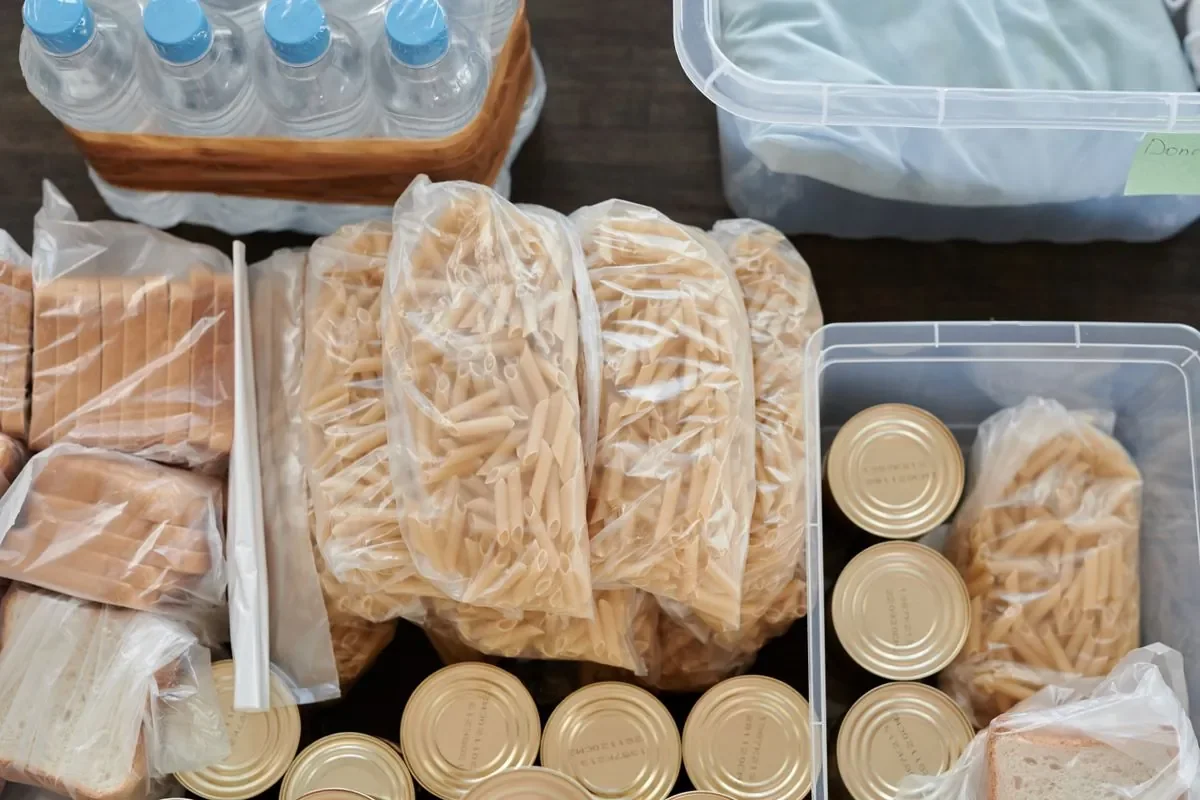
Put everything for one meal in one bin. A taco bin holds shells, seasoning, salsa, and beans. A pasta bin holds pasta, sauce, and parmesan. A pancake bin holds flour, syrup, and baking powder. Dinner starts with one bin on the counter instead of a hunt through three shelves. This is the fastest idea on the list, and it works best for the three or four meals you cook most often. Label the bin with the meal name so everyone in the house can find it.
6. Keep an “eat first” bin at eye level
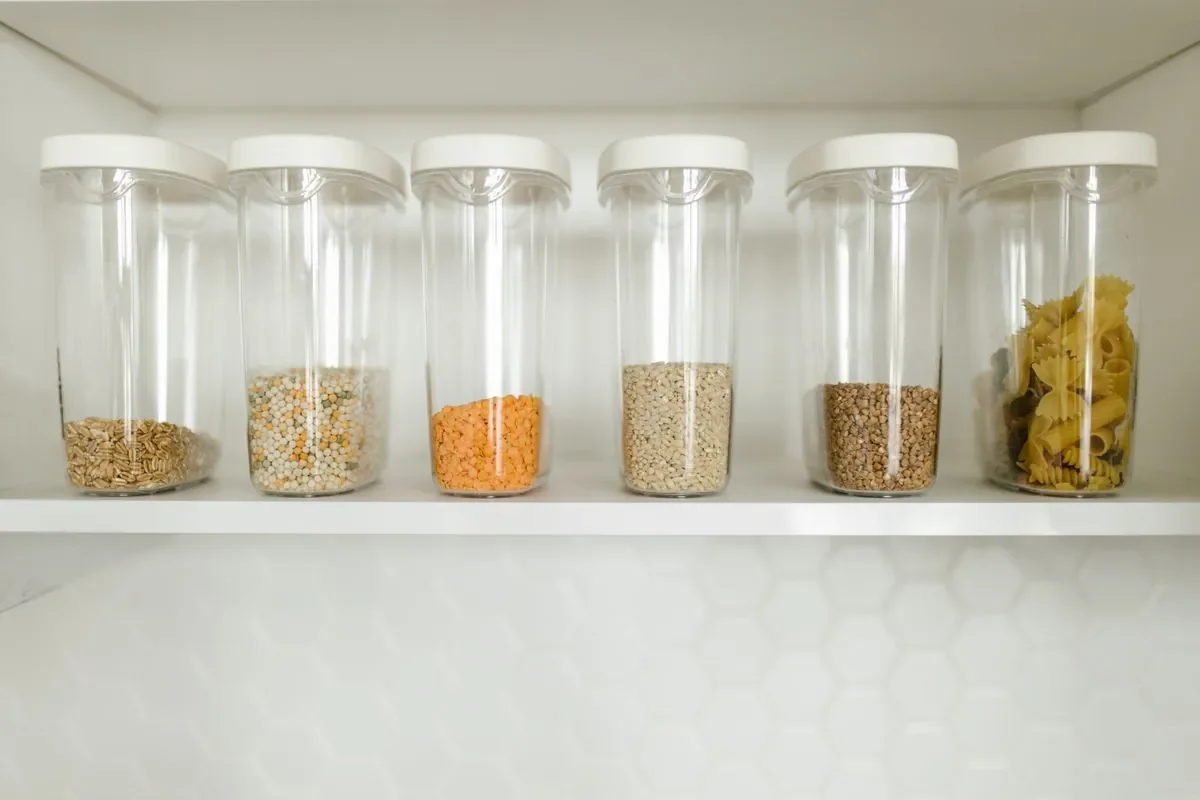
Put one bin at eye level for food that needs eating first: opened bags, food close to its date, and leftovers from a big shop. Everyone sees it every time they open the pantry, so the food gets used instead of forgotten. Move new shopping behind it, never in front of it. The bin does the remembering for you, and it is the single best defense against waste in a small pantry.
The next five ideas fix the problems the free hacks cannot.
7. Clear bins for the staples you use every week
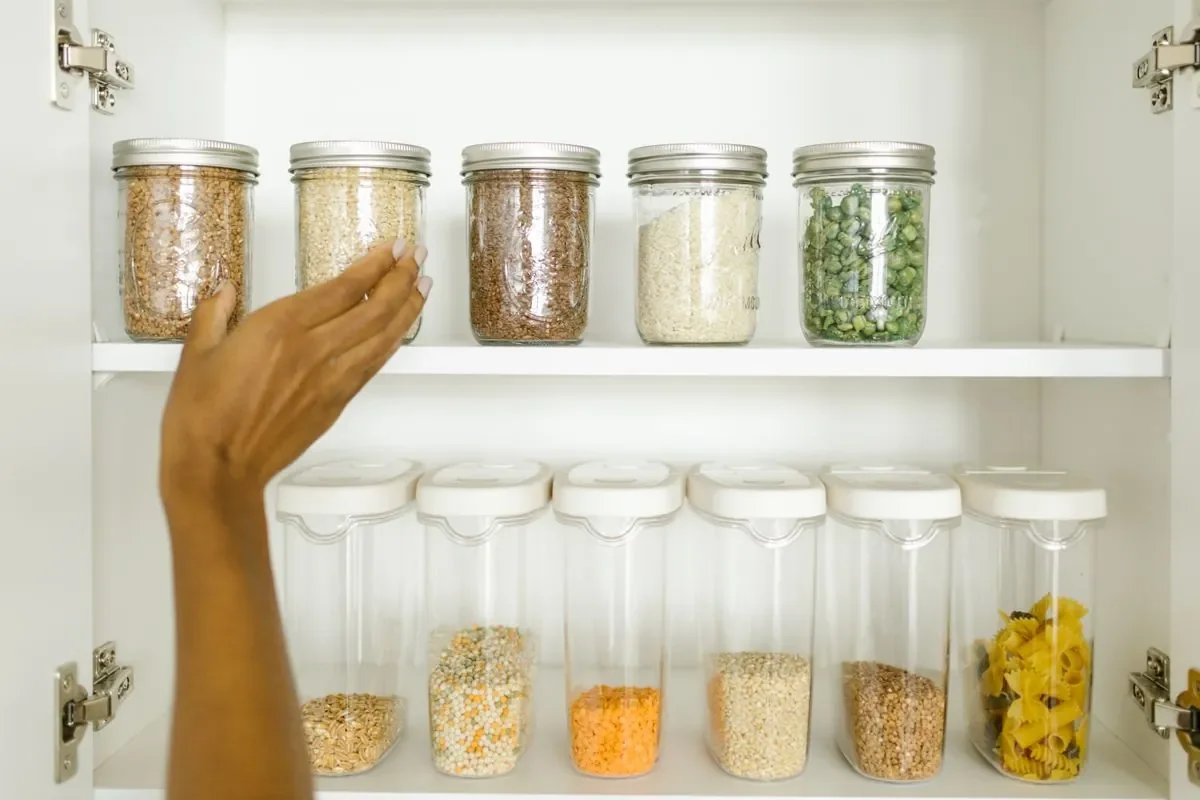
Buy clear bins only for the staples you use every week: rice, pasta, oats, flour, sugar, and snacks. In small pantry organization on a $50 budget, clear matters more than matching. You can see the level without opening the lid, and you can see at a glance what to add to the shopping list. Four dollar store bins are enough for most small pantries. Do not buy a full matching set before you measure. The wrong size bin hides clutter instead of removing it.
8. Put all the bottles on one spinning tray
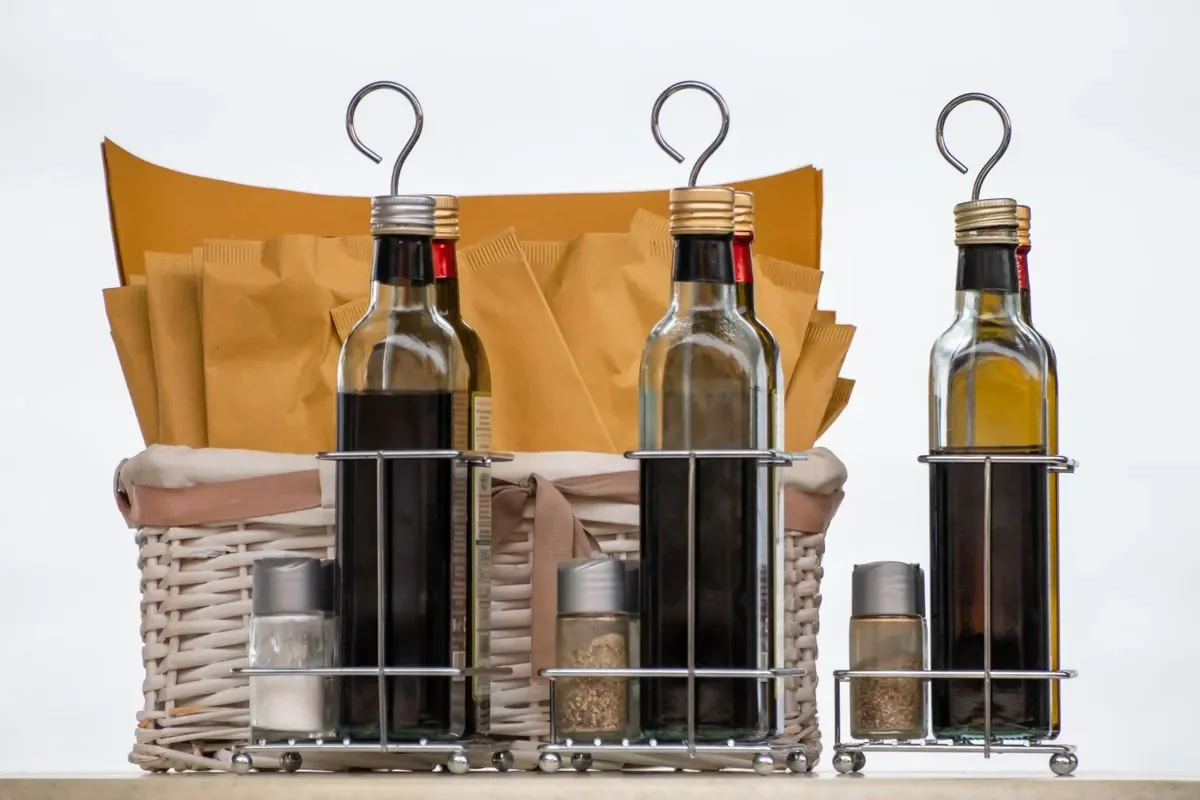
Oils, vinegars, soy sauce, and hot sauce collect in the back corner, where bottles fall over every time you reach past them. Put them all on one turntable, a lazy Susan, and spin it to reach the back. One turntable holds a surprising number of bottles, and it costs about eight dollars. If you already own a basket, group the bottles in that instead, but the spin is what saves the corner. Nothing hides, and nothing falls.
9. Step your cans so every label shows
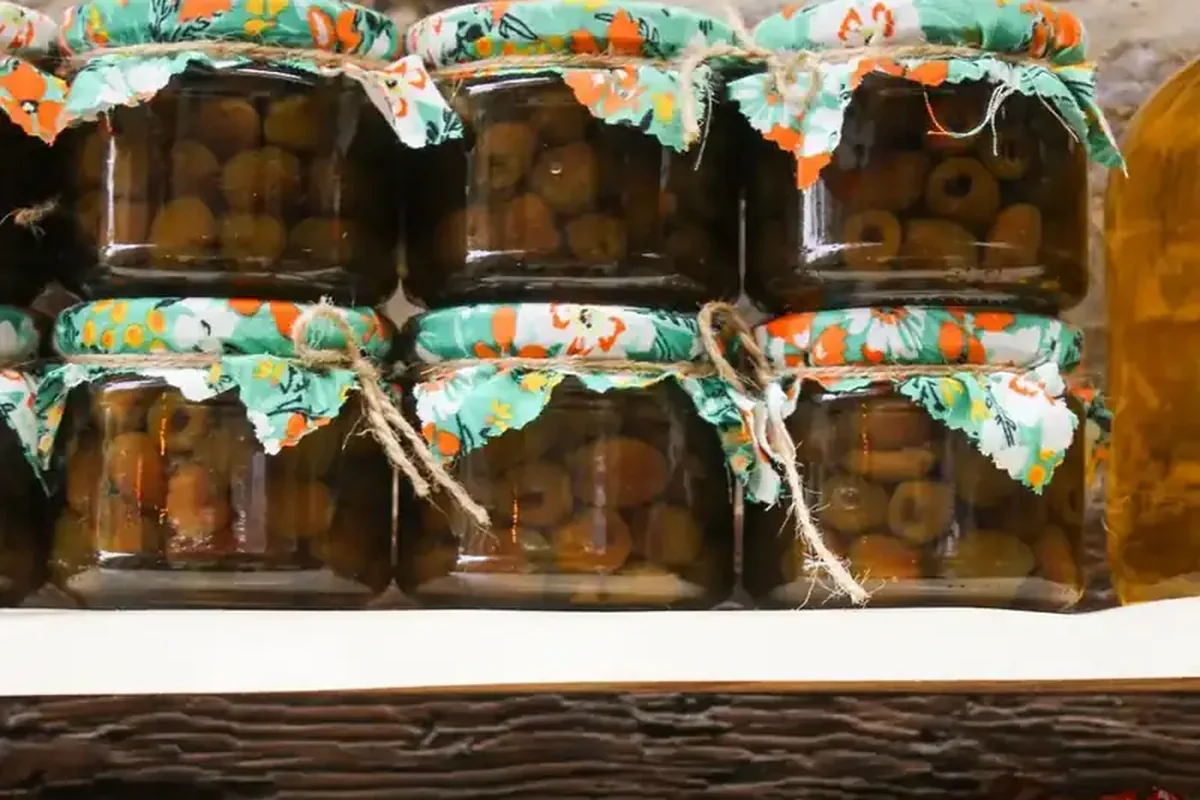
A three-step can riser is a small staircase for tins. The back row sits higher than the front row, so every label faces you. No more buying a fourth tin of beans because three are hiding behind each other. One riser holds two rows of cans and costs about nine dollars. Put high-acid cans like tomatoes on the front step, where you will see them first, and low-acid cans like vegetables at the back.
10. Put the tea, coffee, and cocoa station on one shelf
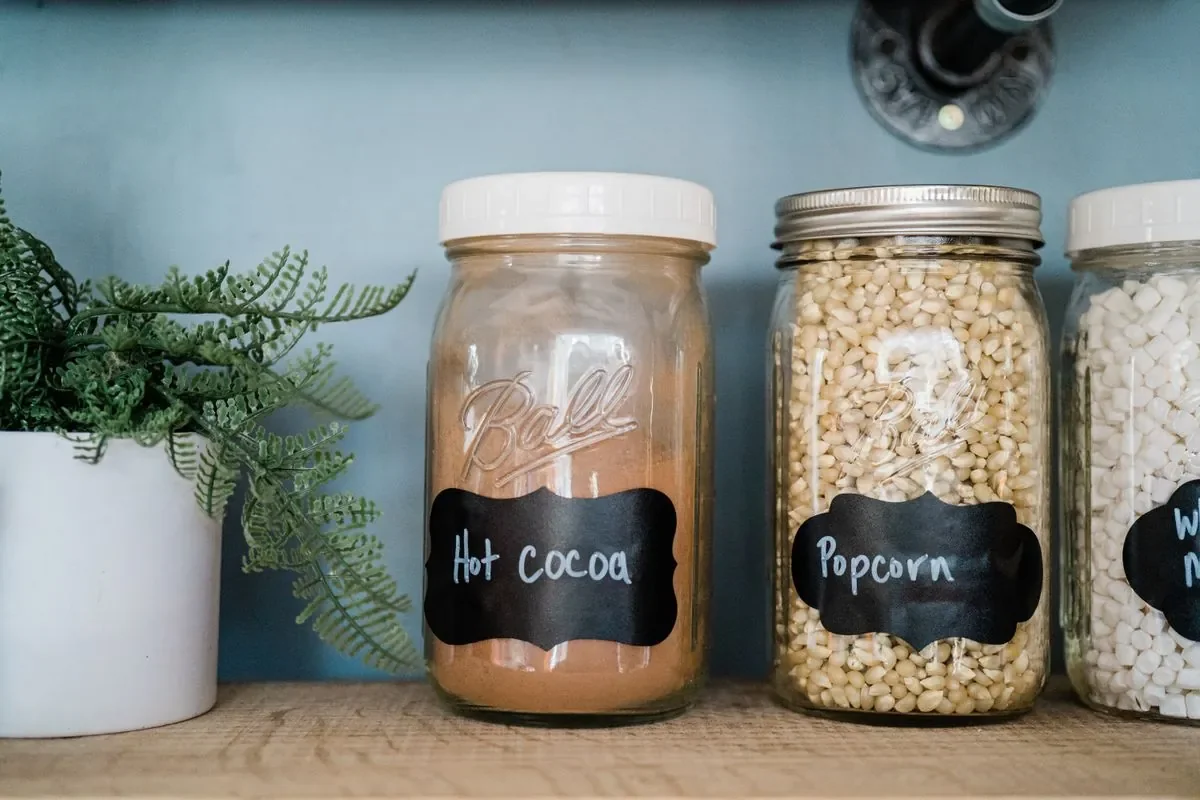
Tea, coffee, cocoa, and marshmallows end up scattered across three shelves. Put them all on one shelf and call it the hot-drink station. Jars of cocoa and coffee, a tin of tea, and a jar of marshmallows sit together where anyone can reach them in the morning. Add the popcorn jar beside them, and the station covers movie night too. It costs nothing, because the jars are the ones you already own, and it ends the morning hunt for the coffee.
11. Make a second level with a shelf riser
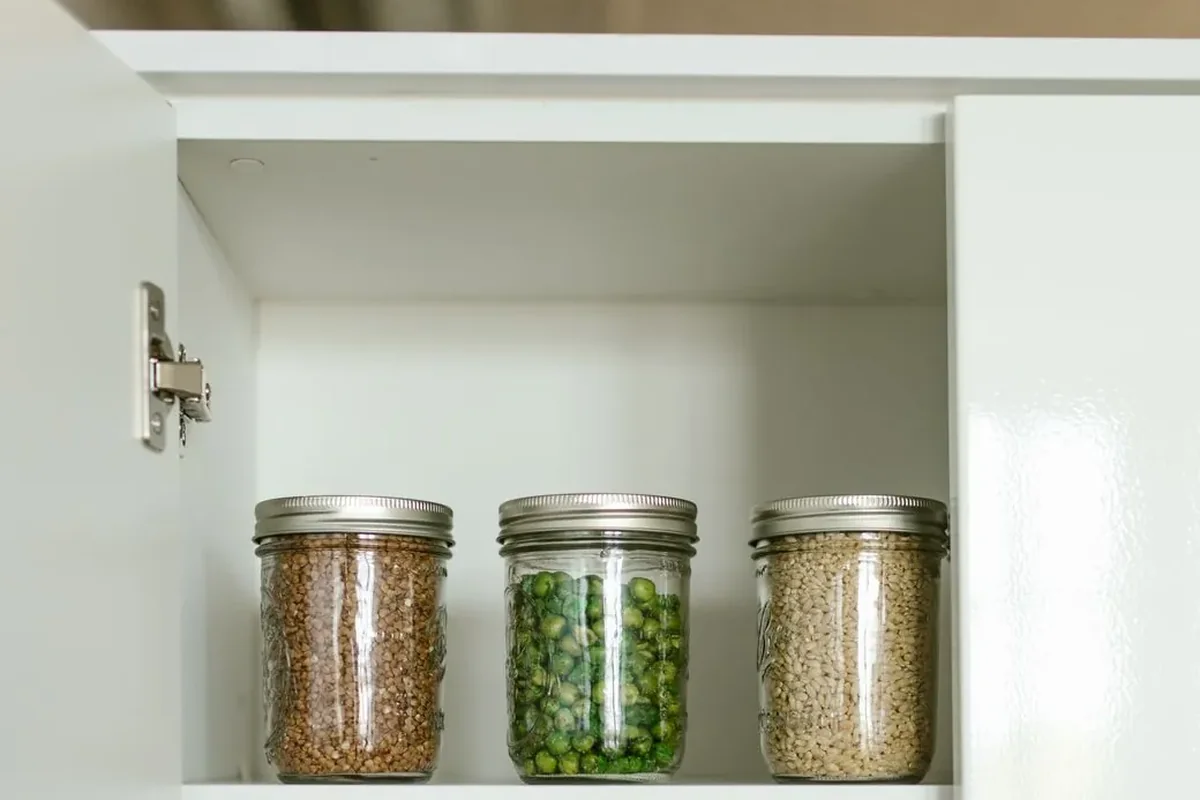
Most pantry shelves are too tall. You stack things, and then you cannot see or reach what is at the back. A stackable shelf riser is a small platform that creates a second level on the same shelf. Put mugs and small jars on top, and cans and boxes below. One riser costs about nine dollars and doubles the usable space on one shelf, and two cover the two busiest shelves. Use them for canned goods, spice jars, or small snack boxes, anywhere the shelf height is wasted.
The rest is about small pantries in particular: tight shelves, shared kitchens, and food that has nowhere else to go.
12. One open, one backup
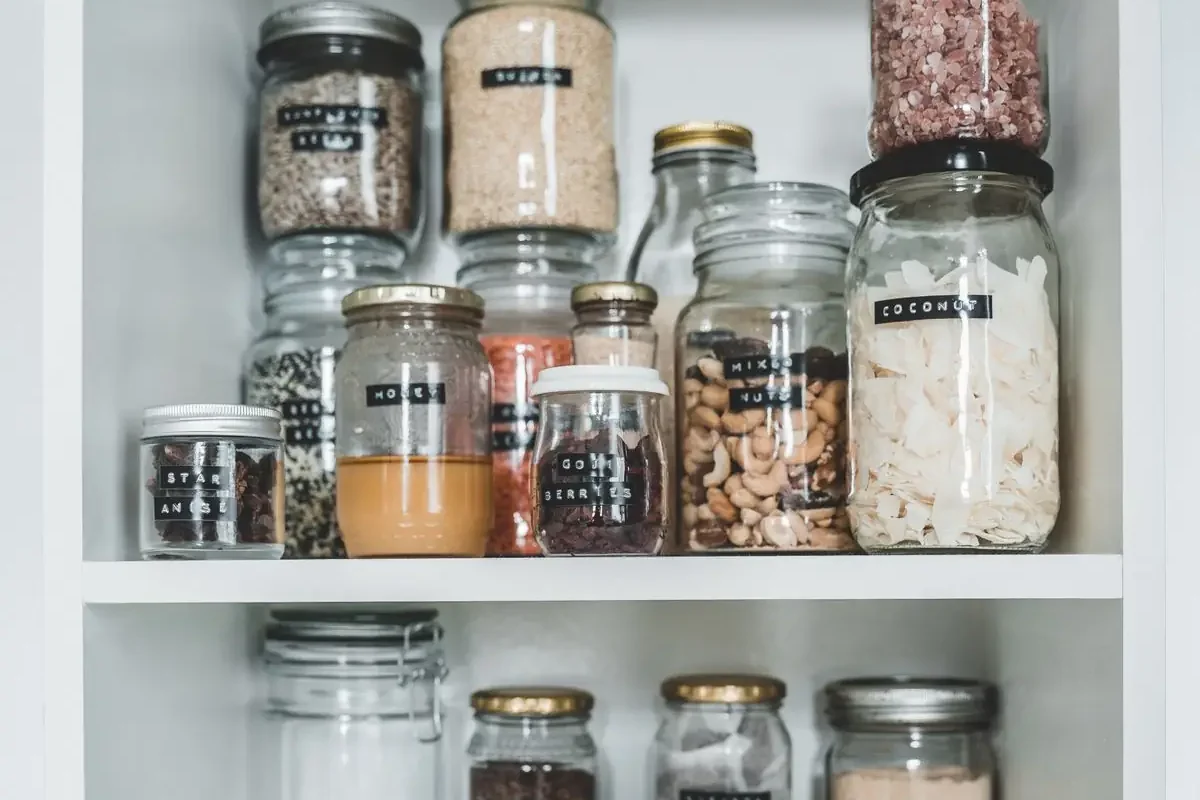
One open, one backup is the heart of small pantry organization on a $50 budget in a tiny kitchen. Keep one open packet and one spare inside the pantry, and store the rest somewhere else. Bulk extras belong in a closet, on top of a wardrobe, or in a labeled box under the bed. The pantry holds what you use this week. The backup shelf holds the rest. This rule stops the pantry from filling with food you will not touch for a month, and it makes the weekly shop obvious: when the spare moves to the front, it is time to buy more.
13. Move spices to the wall
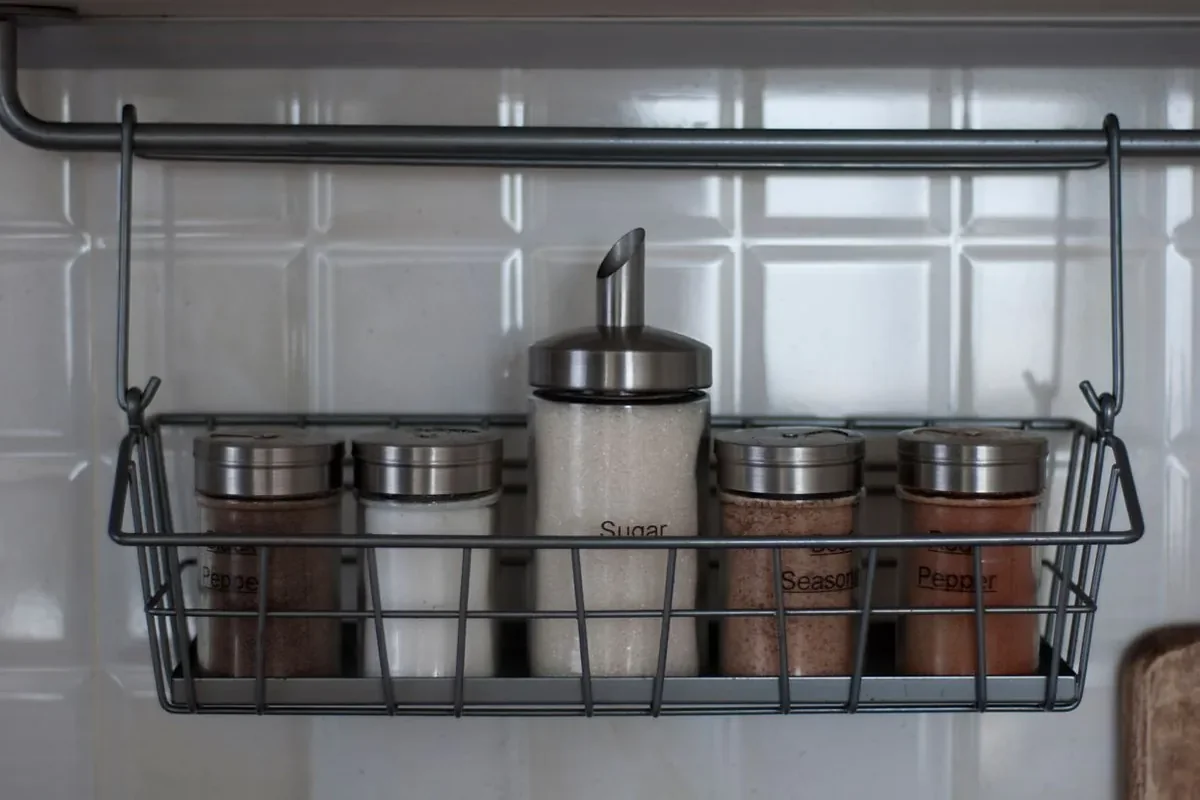
Spices take shelf space but weigh almost nothing, so move them to the wall. A small adhesive spice rack on the side wall of the pantry, or on the inside of the door, holds ten or twelve jars without using a shelf. Keep the spices you use every week at eye level, and the rare ones higher up. Label the lids, not just the jars, so you can read them from above. The freed shelf fits a whole extra bin of food.
14. A floor crate for potatoes and onions
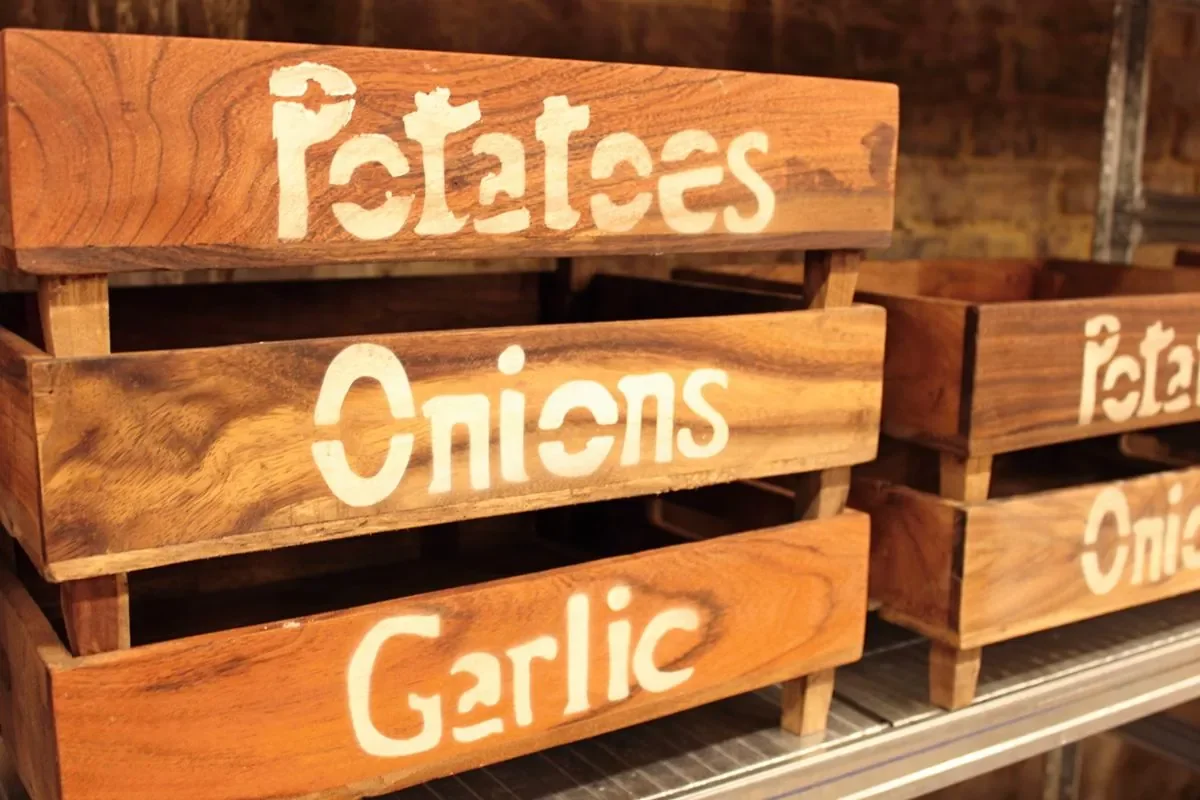
Potatoes and onions do not belong on a shelf. They need air, darkness, and their own space, and they make a mess when they roll. Put a ventilated crate or basket on the pantry floor, with potatoes in one side and onions in the other. Keep them apart, because onions make potatoes sprout faster. One crate frees a whole shelf and keeps the floor tidy. A basket you already own works. A labeled wooden crate works even better.
15. A snack bin kids can reach
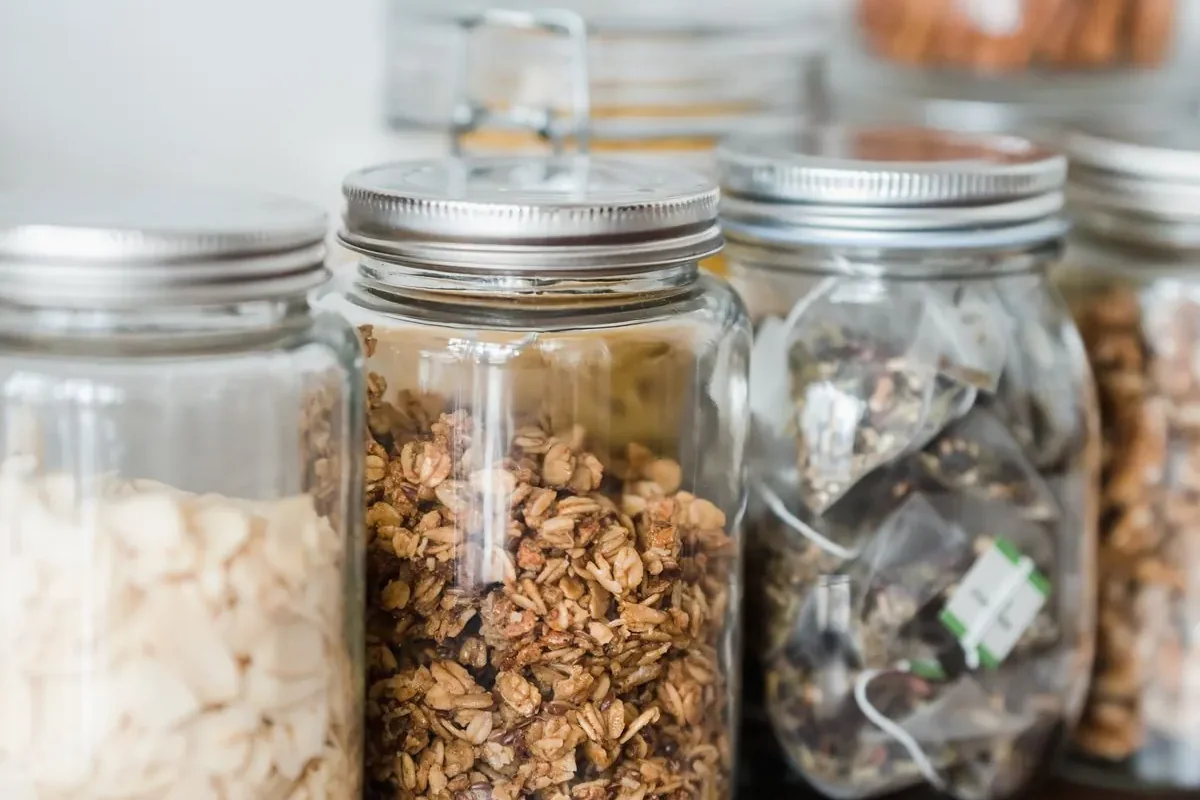
Put all the kids’ snacks in one bin on a low shelf they can reach without help. Fill it once a week, and the bin sets a visible limit: when it is empty, snack time is over until the next fill. The rest of the pantry stays tidy because small hands are not pulling every shelf apart. Clear jars inside the bin let kids see the choices, and a label on the bin tells everyone where snacks live.
16. One overflow bin on the top shelf
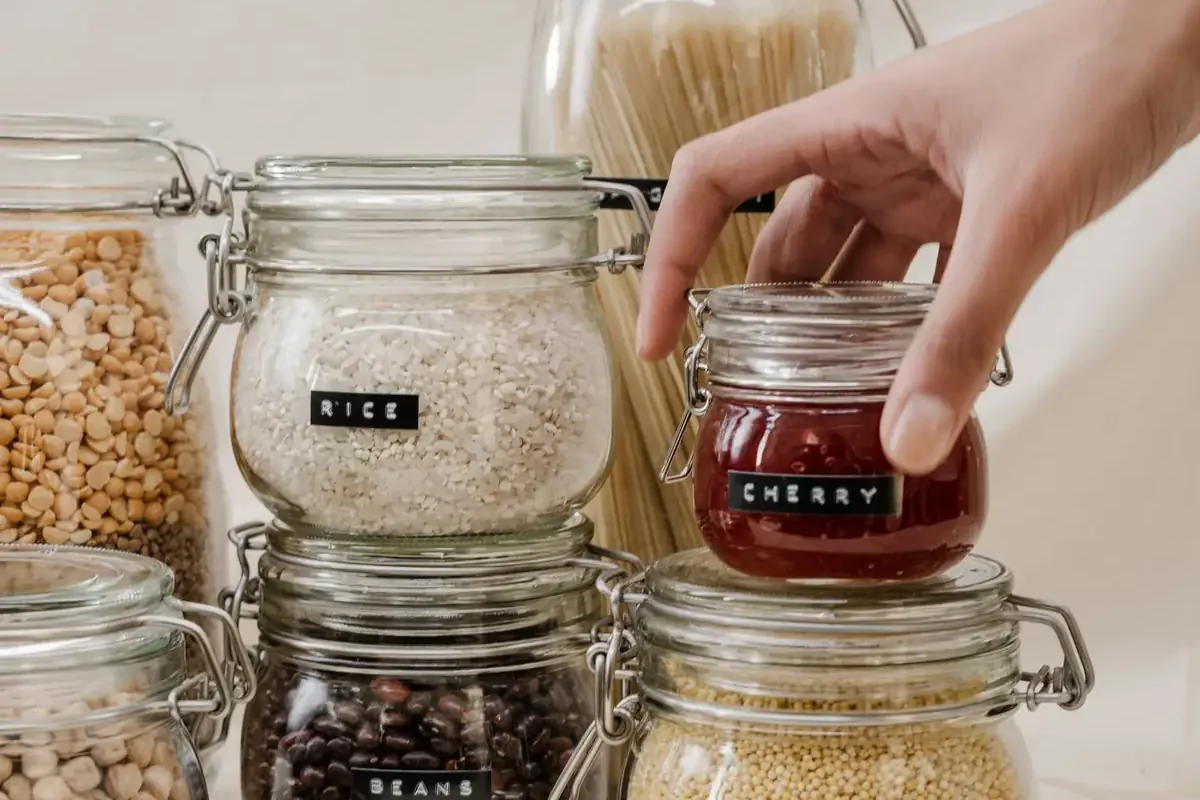
Some food does not need prime pantry space. Holiday baking supplies, a giant bag of chips, specialty flours you use twice a year, and bulk buys all go in one labeled overflow bin on the top shelf. When you need something from it, swap it into the pantry and move something else up. The main shelves stay focused on daily food, and the overflow bin keeps the rest from clogging the system.
The last six ideas cost nothing at all. They are habits, and habits are what keep small pantry organization on a $50 budget working after the first week.
17. Label everything, even with tape and a marker
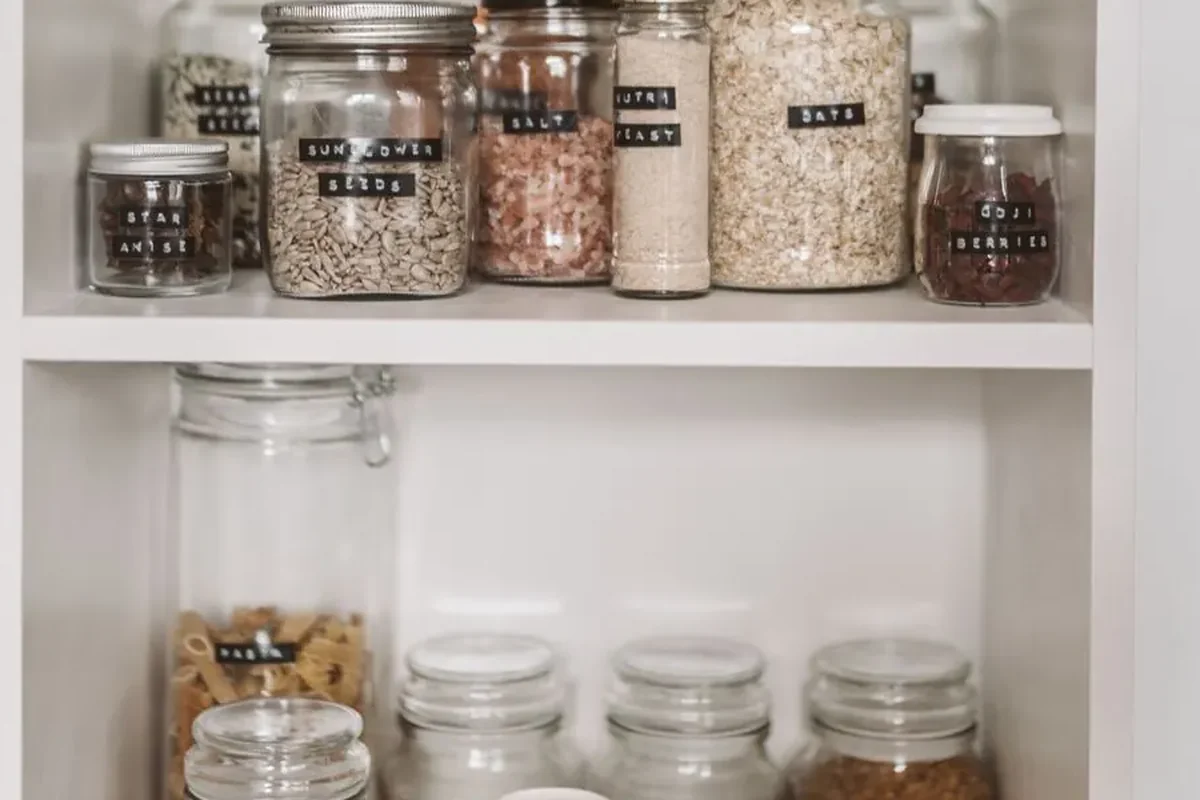
Labels are what keep a pantry working after the first cleanout. You do not need a label maker. Masking tape and a marker do the job, and they cost about four dollars for both. Label the bin, the shelf, and the jar, with the food name and the date you opened it. When everyone in the house knows snacks go in this bin and rice goes in that jar, they put things back in the right place without being asked.
18. First in, first out
When new groceries come home, put them behind the older ones. Old food stays in front, new food goes at the back, and you use what is closest to its date first. This one habit stops more waste than any bin. Pair it with the eat-first bin from idea six, and almost nothing will hide long enough to go stale. It takes ten seconds at unpacking time and saves real money every month.
19. The 15-minute reset before every shop
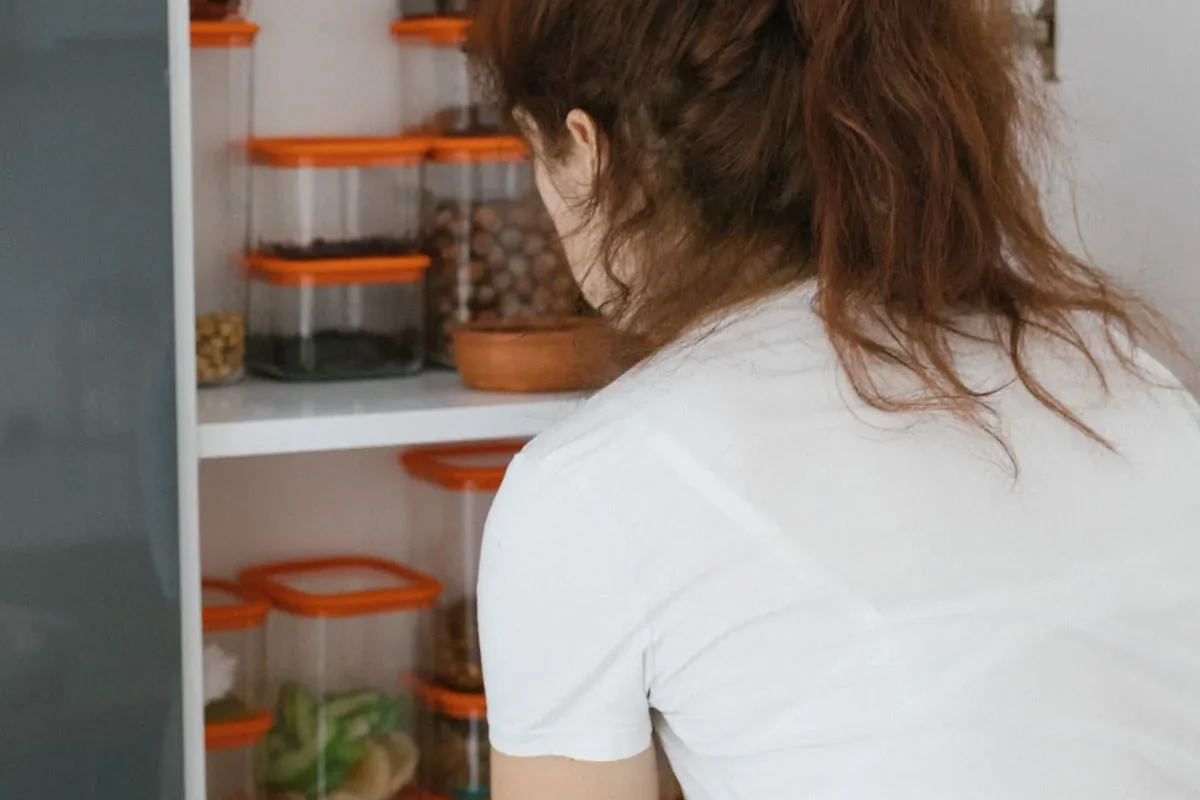
The fifteen-minute reset is what makes small pantry organization on a $50 budget last. Before each grocery run, spend fifteen minutes in the pantry. Move near-date food to the eat-first bin, wipe one shelf, and check what is actually low. Then write the list from the shelves, not from memory. The reset is the whole maintenance plan. Skip it for a month and the pantry slides back to chaos. Keep it up and the system runs itself.
20. Write the shopping list from the pantry, not from memory
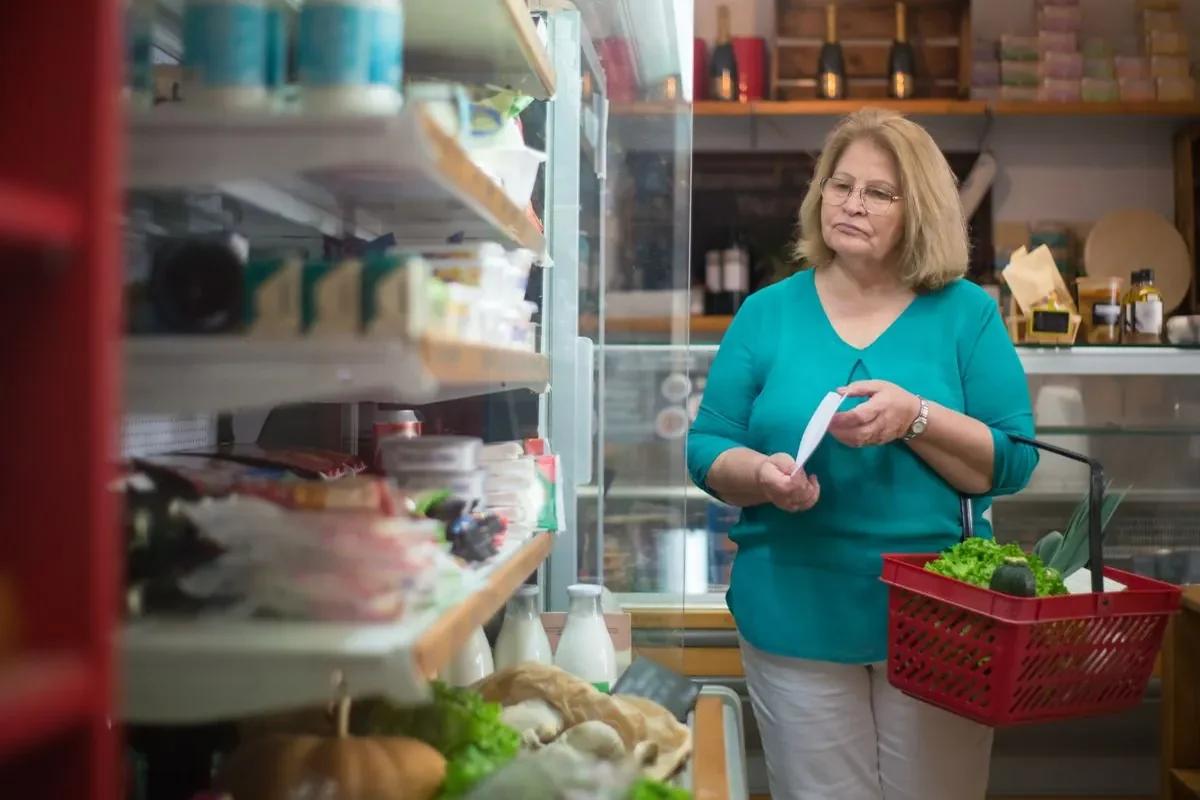
Stand in front of the open pantry and write the list. Look at every shelf and every bin, and write down only what is low or missing. A list from memory buys duplicates of food you already own and forgets the one thing you actually need. A list from the pantry does the opposite. It is also the fastest way to see the system working: the emptier the shelf, the shorter the list.
21. Decant only the staples you use every week
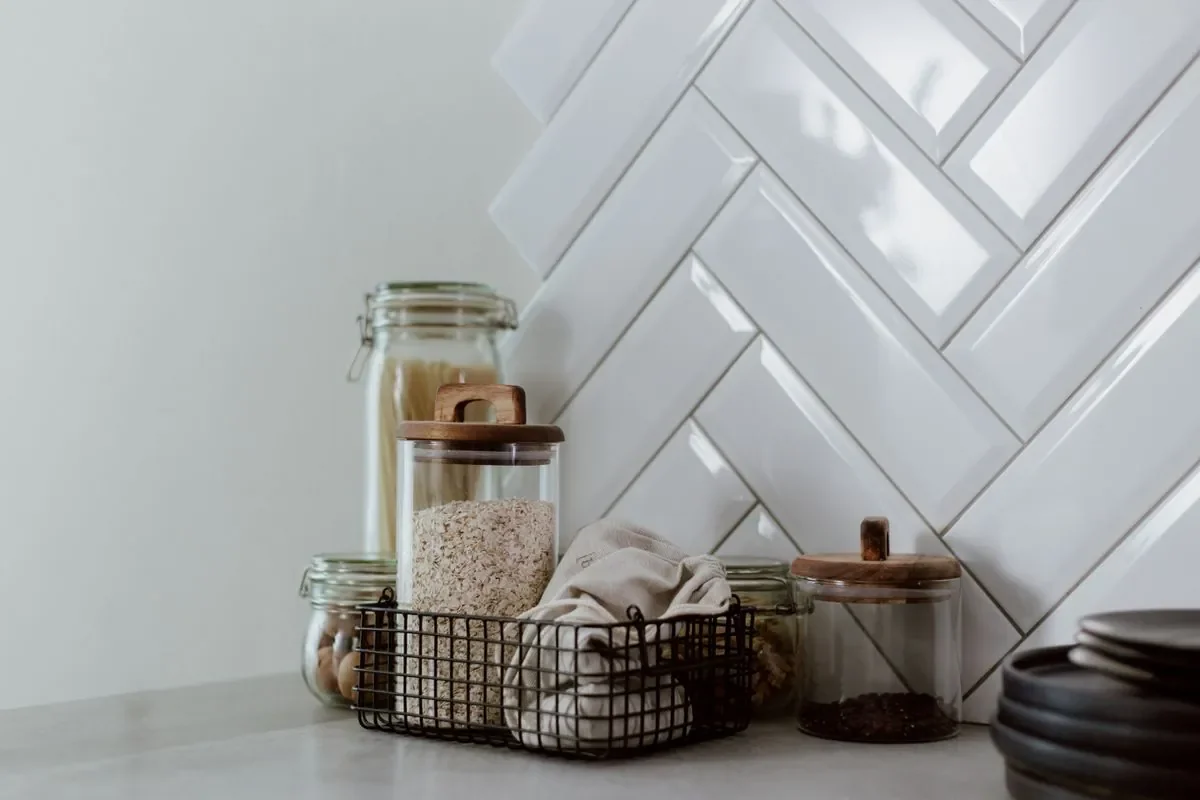
Decanting everything looks beautiful and costs a fortune in containers. Decant only the five or six staples you use every week, like rice, oats, flour, sugar, pasta, and coffee. Leave the rest in its original packaging, where the cooking times and dates stay in view. You get the clean look where it matters and save the money and the time everywhere else.
22. Zone by reach: daily at eye level, heavy low, backups high
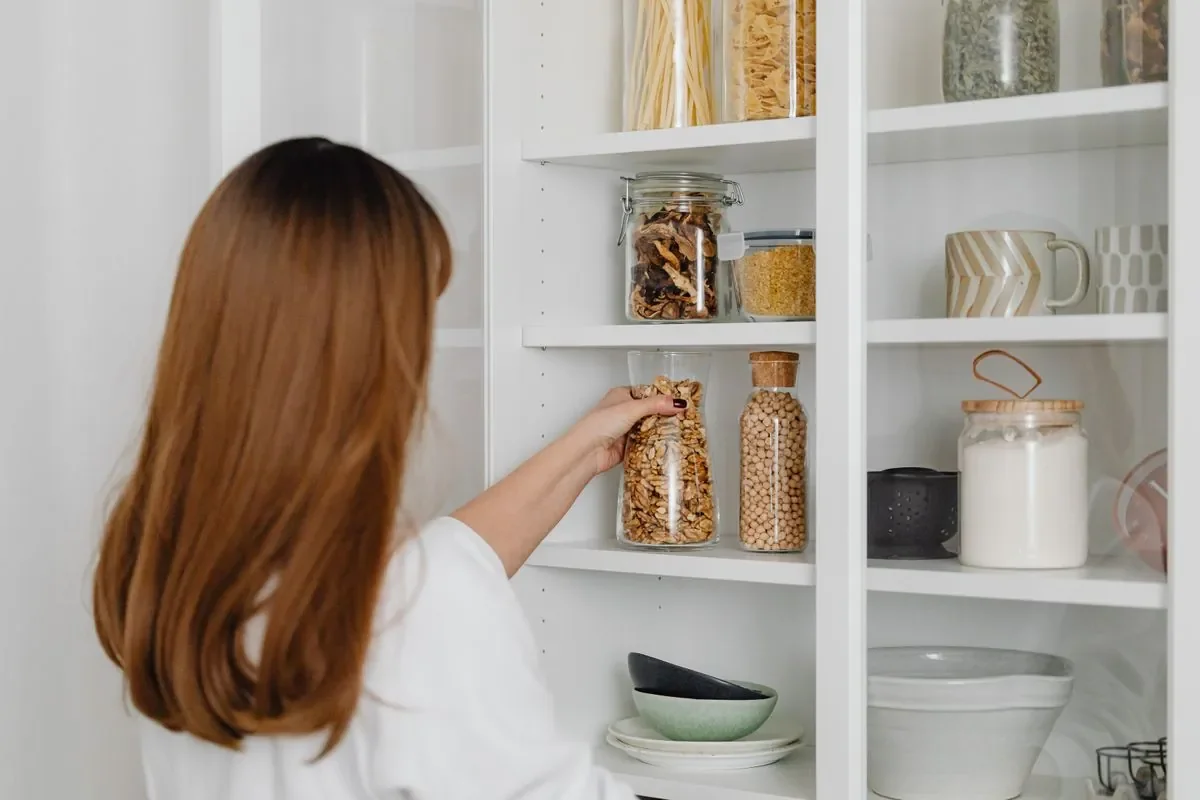
Give every shelf a job by reach. Daily food and the eat-first bin go at eye level, where you see them without thinking. Heavy things like big jars and bottles go low, where they cannot fall on anyone. Backups, bulk extras, and holiday food go high, where you reach them once a week at most. When every shelf has one job, anyone in the house can put food away in the right place, and the pantry stays organized without a weekly rescue.
The $50 budget, item by item
Here is the full list for small pantry organization on a $50 budget. Prices are typical dollar store and discount store prices, and they vary by store, so treat them as a guide, not a quote. If you already own any of these, skip it and keep the money.
- 4 clear bins, about $1.25 each: $5
- 1 turntable for bottles, about $8: $8
- 1 three-step can riser, about $9: $9
- 4 small baskets, about $1.50 each: $6
- Masking tape and a marker, about $4: $4
- 2 stackable shelf risers, about $9 each: $18
- Total: $50
If you can only spend $20 right now, buy the clear bins and the turntable first. Small pantry organization on a $50 budget works at twenty dollars too. Those two alone fix the two biggest problems: food you cannot see and bottles you cannot reach. Add the rest one payday at a time.
The math is simple. Cut food waste by 10 percent and a household of four saves about $291 a year, based on the EPA figure above. That is about $5.60 a week, so fifty dollars pays for itself in about nine weeks. Small pantry organization on a $50 budget is one of the cheapest home projects that actually pays you back.
Do it in one afternoon: five steps
Follow these five steps for small pantry organization on a $50 budget in order, and do not buy anything until step two is done.
- Measure each shelf, width, depth, and height, and write the numbers down.
- Pull everything out and sort it into keep, eat this week, donate, and toss piles.
- Zone the shelves by reach and apply the free ideas first.
- Shop only for the gaps you measured, and stop at fifty dollars.
- Set a weekly fifteen-minute reset before each grocery run.
What to skip
Skip the matching container set. The rule for small pantry organization on a $50 budget is simple: sort first, measure second, buy last. Skip buying in bulk before you have zones, skip decanting food you use once a month, and skip keeping three open bags of the same thing. If a product does not make food easier to see or reach, it does not belong in a fifty-dollar pantry.
Questions people ask
Can I organize a small pantry for $50?
Yes. Small pantry organization on a $50 budget works in a rental pantry with three shelves or less, as long as you sort and measure before you buy. The fifty dollars covers bins, a turntable, a can riser, baskets, labels, and two shelf risers. The free ideas do the rest.
What should I buy first if I only have $20?
Buy clear bins and a turntable. In small pantry organization on a $50 budget, those two solve the two biggest problems in a small pantry, and you can add the can riser and the shelf risers later.
Do my containers need to match?
No. Clear matters more than matching. A pantry works when you can see the level in every jar and bin. Mixed bins from the dollar store work as well as a matching set, and they cost a tenth of the price.
How do I keep the pantry organized after the first week?
Do the fifteen-minute reset before every grocery run. Move near-date food to the eat-first bin, check what is low, and write the list from the shelves. Skip the reset for a month and the pantry slides back. Keep it up and the system runs itself.
Start this afternoon
Empty the shelves, sort everything, and zone by reach. Spend fifty dollars only on the gaps: bins, a turntable, a riser, baskets, labels, and two more shelf levels. Then reset for fifteen minutes before every shop. That is the whole job of small pantry organization on a $50 budget. Pick five or six ideas from the list, start this afternoon, and let the pantry pay you back. Once the pantry is done, the same measure-first rule works in the rest of the flat. Our Christmas decor ideas for small apartments use the same idea: measure first, buy last, and keep only what fits.